When we bought our 1958-model home, it was newly painted, but there wasn’t much else that was new about the place. The toilets were old and less efficient than modern-style commodes, especially some of the water-saving versions on the market. One might think it’s expensive to replace an old toilet with a water-efficient model, but it’s not. I was able to swap out mine for less than $200, all costs included. Here’s how:
First Step: Pick Your Size
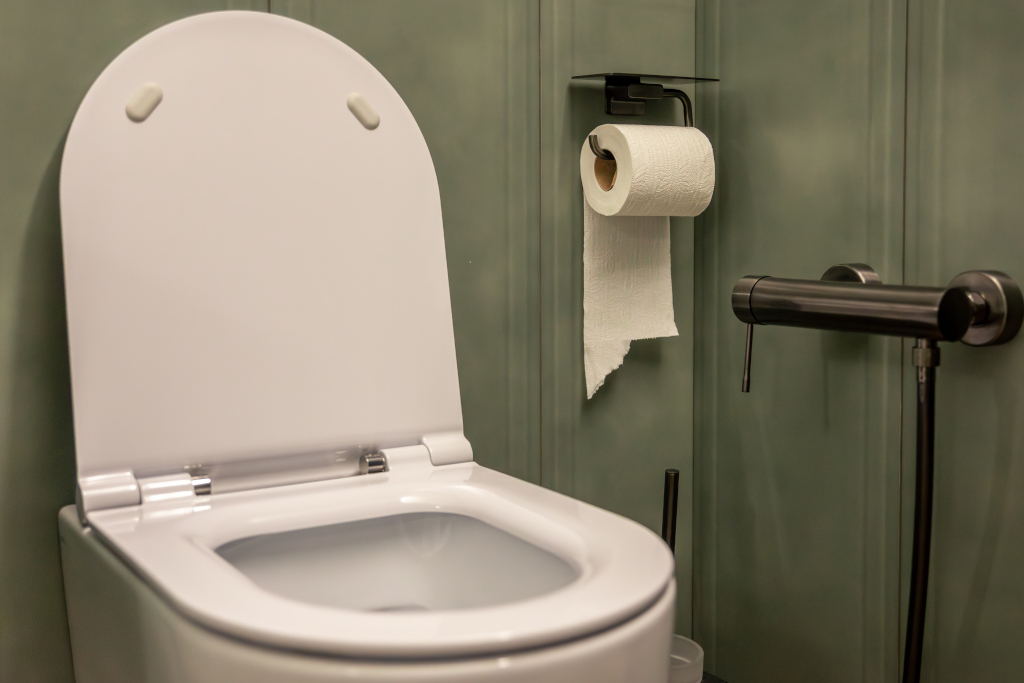
The bathroom shown above doesn’t have much space, and the water shut-off valve rests directly behind the base of the toilet. To keep the installation simple, I needed something that would fit the space. So I measured the distance from the bolts to the wall and found that a 12″ rough-in would do. I also figured that the toilet could not be longer than about 29″. Depending on your space, you may want to measure the toilet width, bowl height, or other elements.
Second Step: Purchase Your Toilet
I looked online — Amazon has an even larger selection of toilets than most brick-and-mortar stores — and this time it was actually easier to narrow down the best options without leaving home. While stores like Lowe’s and Home Depot are great for checking sizes in person, Amazon had better pricing and more modern one-piece designs when I was browsing.
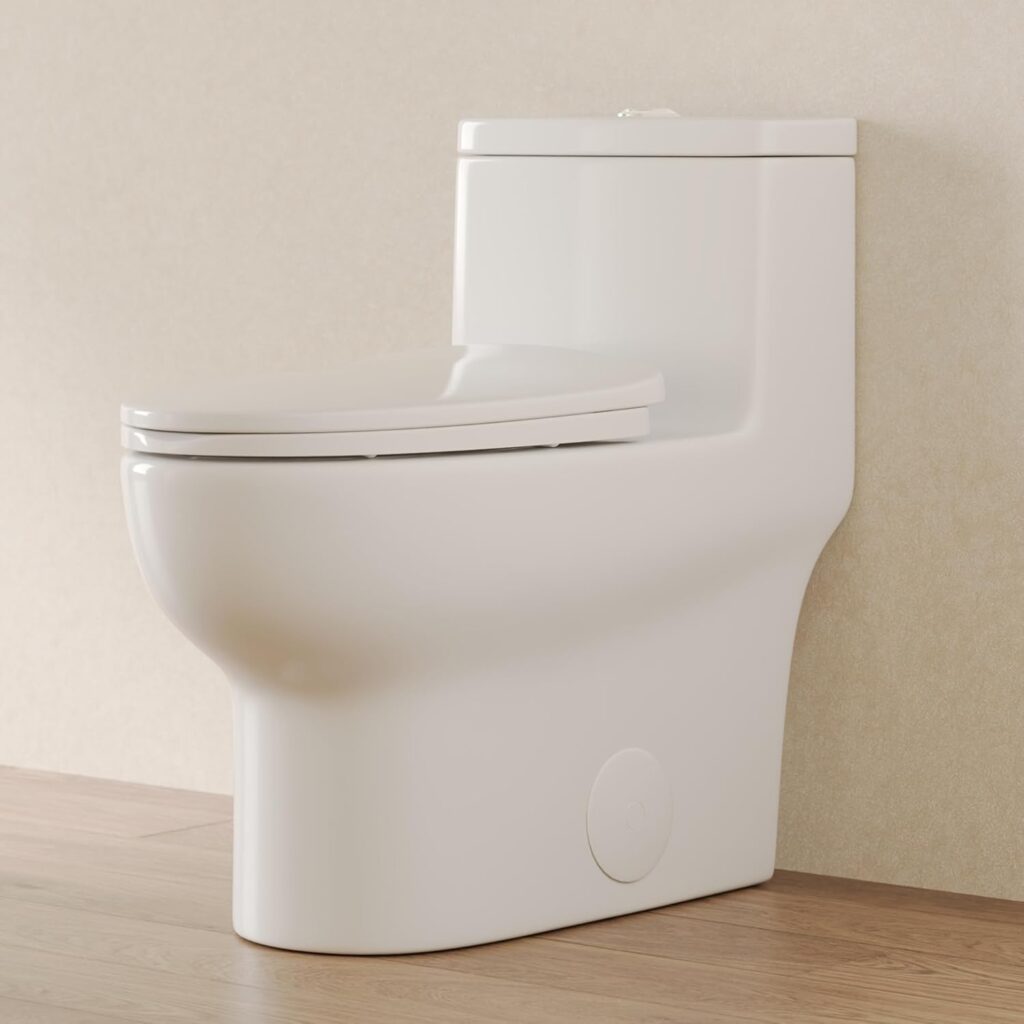
That’s when I came across the DeerValley One Piece Toilet DV-1F026, a sleek water-saving model that uses just 1.28 gallons per flush. The dimensions were a perfect match for my bathroom, the reviews were solid, and the price was surprisingly affordable for a one-piece toilet — so I added it to my cart along with a new water supply line.
Third Step: Remove the Old Toilet
This can be easy or tough, depending on the toilet. Long and short, turn off the water at the shut-off valve on the wall. Flush the toilet and let the water run through. Use a sponge to dry out the toilet bowl and the tank. Put a cup under the shut-off valve and unscrew the water line. Detach the line from the water valve and shake the water into the cup. Next, unscrew the T-bolts at the toilet base and use a utility knife to cut any caulk on the floor. Grab a friend to pop the toilet off the floor and keep it level to avoid water spilling all over the place.
Fourth Step: Donate the Old Toilet
There’s no reason to send the old toilet to the landfill. I loaded mine up, drove to the nearest ReStore, and donated the toilet. Perhaps it will get a new life with some more efficient guts. If you break the toilet or don’t have access to a place like ReStore, run a Google Search for a local recycler. You’ll find a home for what you have.
Fifth Step: Prepare for the Installation
The circle, or flange, on the floor will probably have a layer of old wax buildup. Use a drywall spackle or something like that to clean it off while making sure nothing drops down the hole in the floor. Clean around the flange to get the floor ready for the new toilet and wax ring. After a little preparation, you should be prepared to go.
Sixth Step: Install the New Toilet
Installing the new toilet requires following the installation instructions that come with the bathroom. Basically, put the new T-bolts in the flange and place the wax ring on the floor. Turn the new toilet base upside down and caulk the outside edge of the base. Carefully pick up the toilet, flip it around, line it up with the T-bolts, and place it on the wax ring. Shimmy the toilet into place and place a level on the top to make sure it’s even. If you have an uneven floor, use plastic shims to firm the foundation. Install the new water line connection and slowly turn the water on to make sure you have no leaks. Tidy up the rest — like the toilet seat and a bit of caulk around the floor line.
Seventh Step: Let the Installation Cure
The tile on my floor was uneven, so I used plastic shims to bolster the toilet base. Then I ran a bead of silicon-based caulk around the base and let that cure overnight. You probably don’t need that much time, but I wanted to let it cure for sure. With the shims, caulk, and cure, my water closet is now feeling more rock-solid than ever before.
Troubleshooting and Other Thoughts
Caulking the base seems to be a hot topic among plumbers. It’s code to caulk the base in some places and apparently not code in others. Some people don’t like the look, while others don’t like to cut and remove silicon if the toilet needs to be pulled. You can get a color-matching caulk if that’s a concern.
The T-bolts at the base of the toilet may be rusted and hard to unscrew when removing the existing toilet. You can try to loosen them with something from the hardware store or use pliers to grip the top while unscrewing. You might also just use a hacksaw to cut through the bolts. A new set will come with the wax ring and set you back a couple of bucks.
Worst-case scenario: shut off the water and hire a professional. That said, if you have a decent plumbing situation, it’s not too hard to convert to a water-saving toilet for less than $200 plus a few hours of research, shopping, and labor.